
How to Tile a Shower Wall When You’re Remodeling a Bathroom
Are you prepared to take on the task of replacing the shower tiles? Experts teach you how to tile a shower wall in this step-by-step tutorial. You’ll also learn how to prepare both the old and new walls for the most significant possible outcomes. This article will walk you through the following sections on how to tile a shower wall:
- Getting the old and new walls ready
- Organizing the tiles
- Putting a batten in place
- Setting the tiles in place
- Internal corner tiling
It’s critical to prepare the wall before you remodel your shower bathroom by following the procedures below.
Contents
For an Existing Shower Wall
- Examine the condition of the existing shower wall. It’s much simpler to start from the ground up and remove the entire wall down to the stud frame if old tiles are glued to the wall.
- If you’re replacing or repurposing a current shower tray, now is the time to put down a protective layer on the floor beneath it. This will keep any moisture that collects beneath the tray from spreading.
- Any moisture and humidity will be able to breathe and disperse if a vapor barrier is installed across the stud frame with a gap at the top. If you don’t create a gap at the top, you can wind up with a rotting stud frame.
For A New Shower Wall
- A concrete backer board is an ideal wall covering for the shower area since it is water and mold-resistant and provides a very sturdy basis for tiles.
- Cut the board to fit the space and connect it to the stud frame, leaving a 12″ gap between each board and a tiny gap between both the board’s base and the shower tray.
- Use caulk to seal the joints between the panels and the shower tray. Drill holes for the showerhead and controls with a hole-saw or hole-cutter.
- You can use a bathroom filler to smooth up any edges where the newly boarded wall has left a gap between the new and previous wall.
- Paint some exterior primer over the filler if you’re tiling over any of the filled gaps to help the tiles attach to the wall.
Safety Measures
- All electrical connections that You should turn off service cables going through walls near to the shower.
- Before you start cutting with the wet tile saw, ensure the cutting area is completely submerged in water.
- Water not only keeps dust at bay, but it also helps to keep tile chips from flying back at you.
- When cutting tile or tearing down an existing shower, wear eye, hearing, and breathing protection.
Types of Equipment You’ll Need
- Wet tile saw
- Cordless drill
- 1/4-inch notched trowel
- Laser level or bubble level
- Tape measure
- Rubber grout float
- Grout bag
- Chalk snap line
- Pry bar
- Hammer
- Eye, breathing, and hearing protection
- Utility knife
- Hole saw
- Jigsaw
- Clean sponges
- Clean buckets
Materials
- Shower wall
- Edge tile
- Accent tiles or listellos
- Cement backer board
- Tile spacers
- Thinset
- Floor protection materials
- Plastic shims
- Cement board tape
- Liquid waterproof tile membrane
- Paint roller frame and roller covers
- Grout haze cleaner
- Grout sealant
How to Tile A Shower Wall
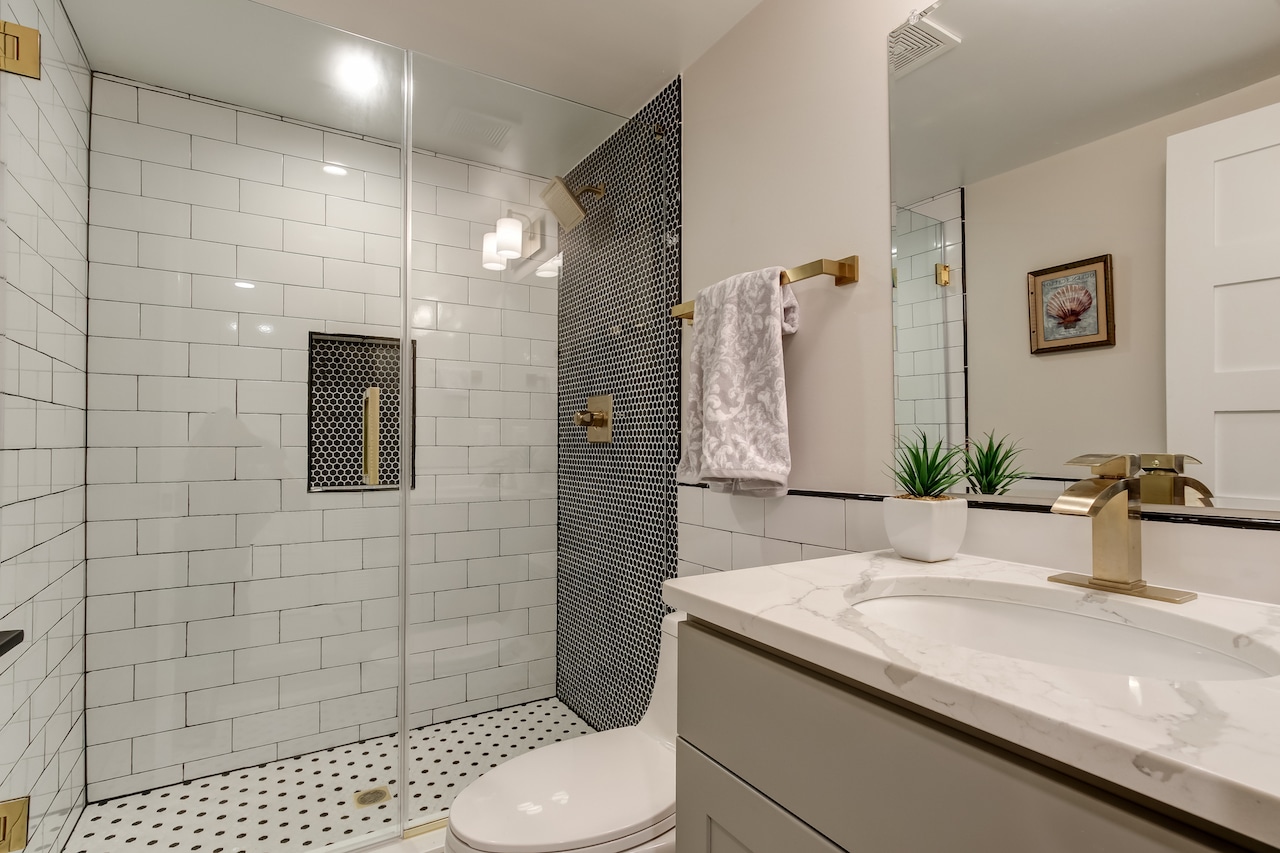
Plan The Layout
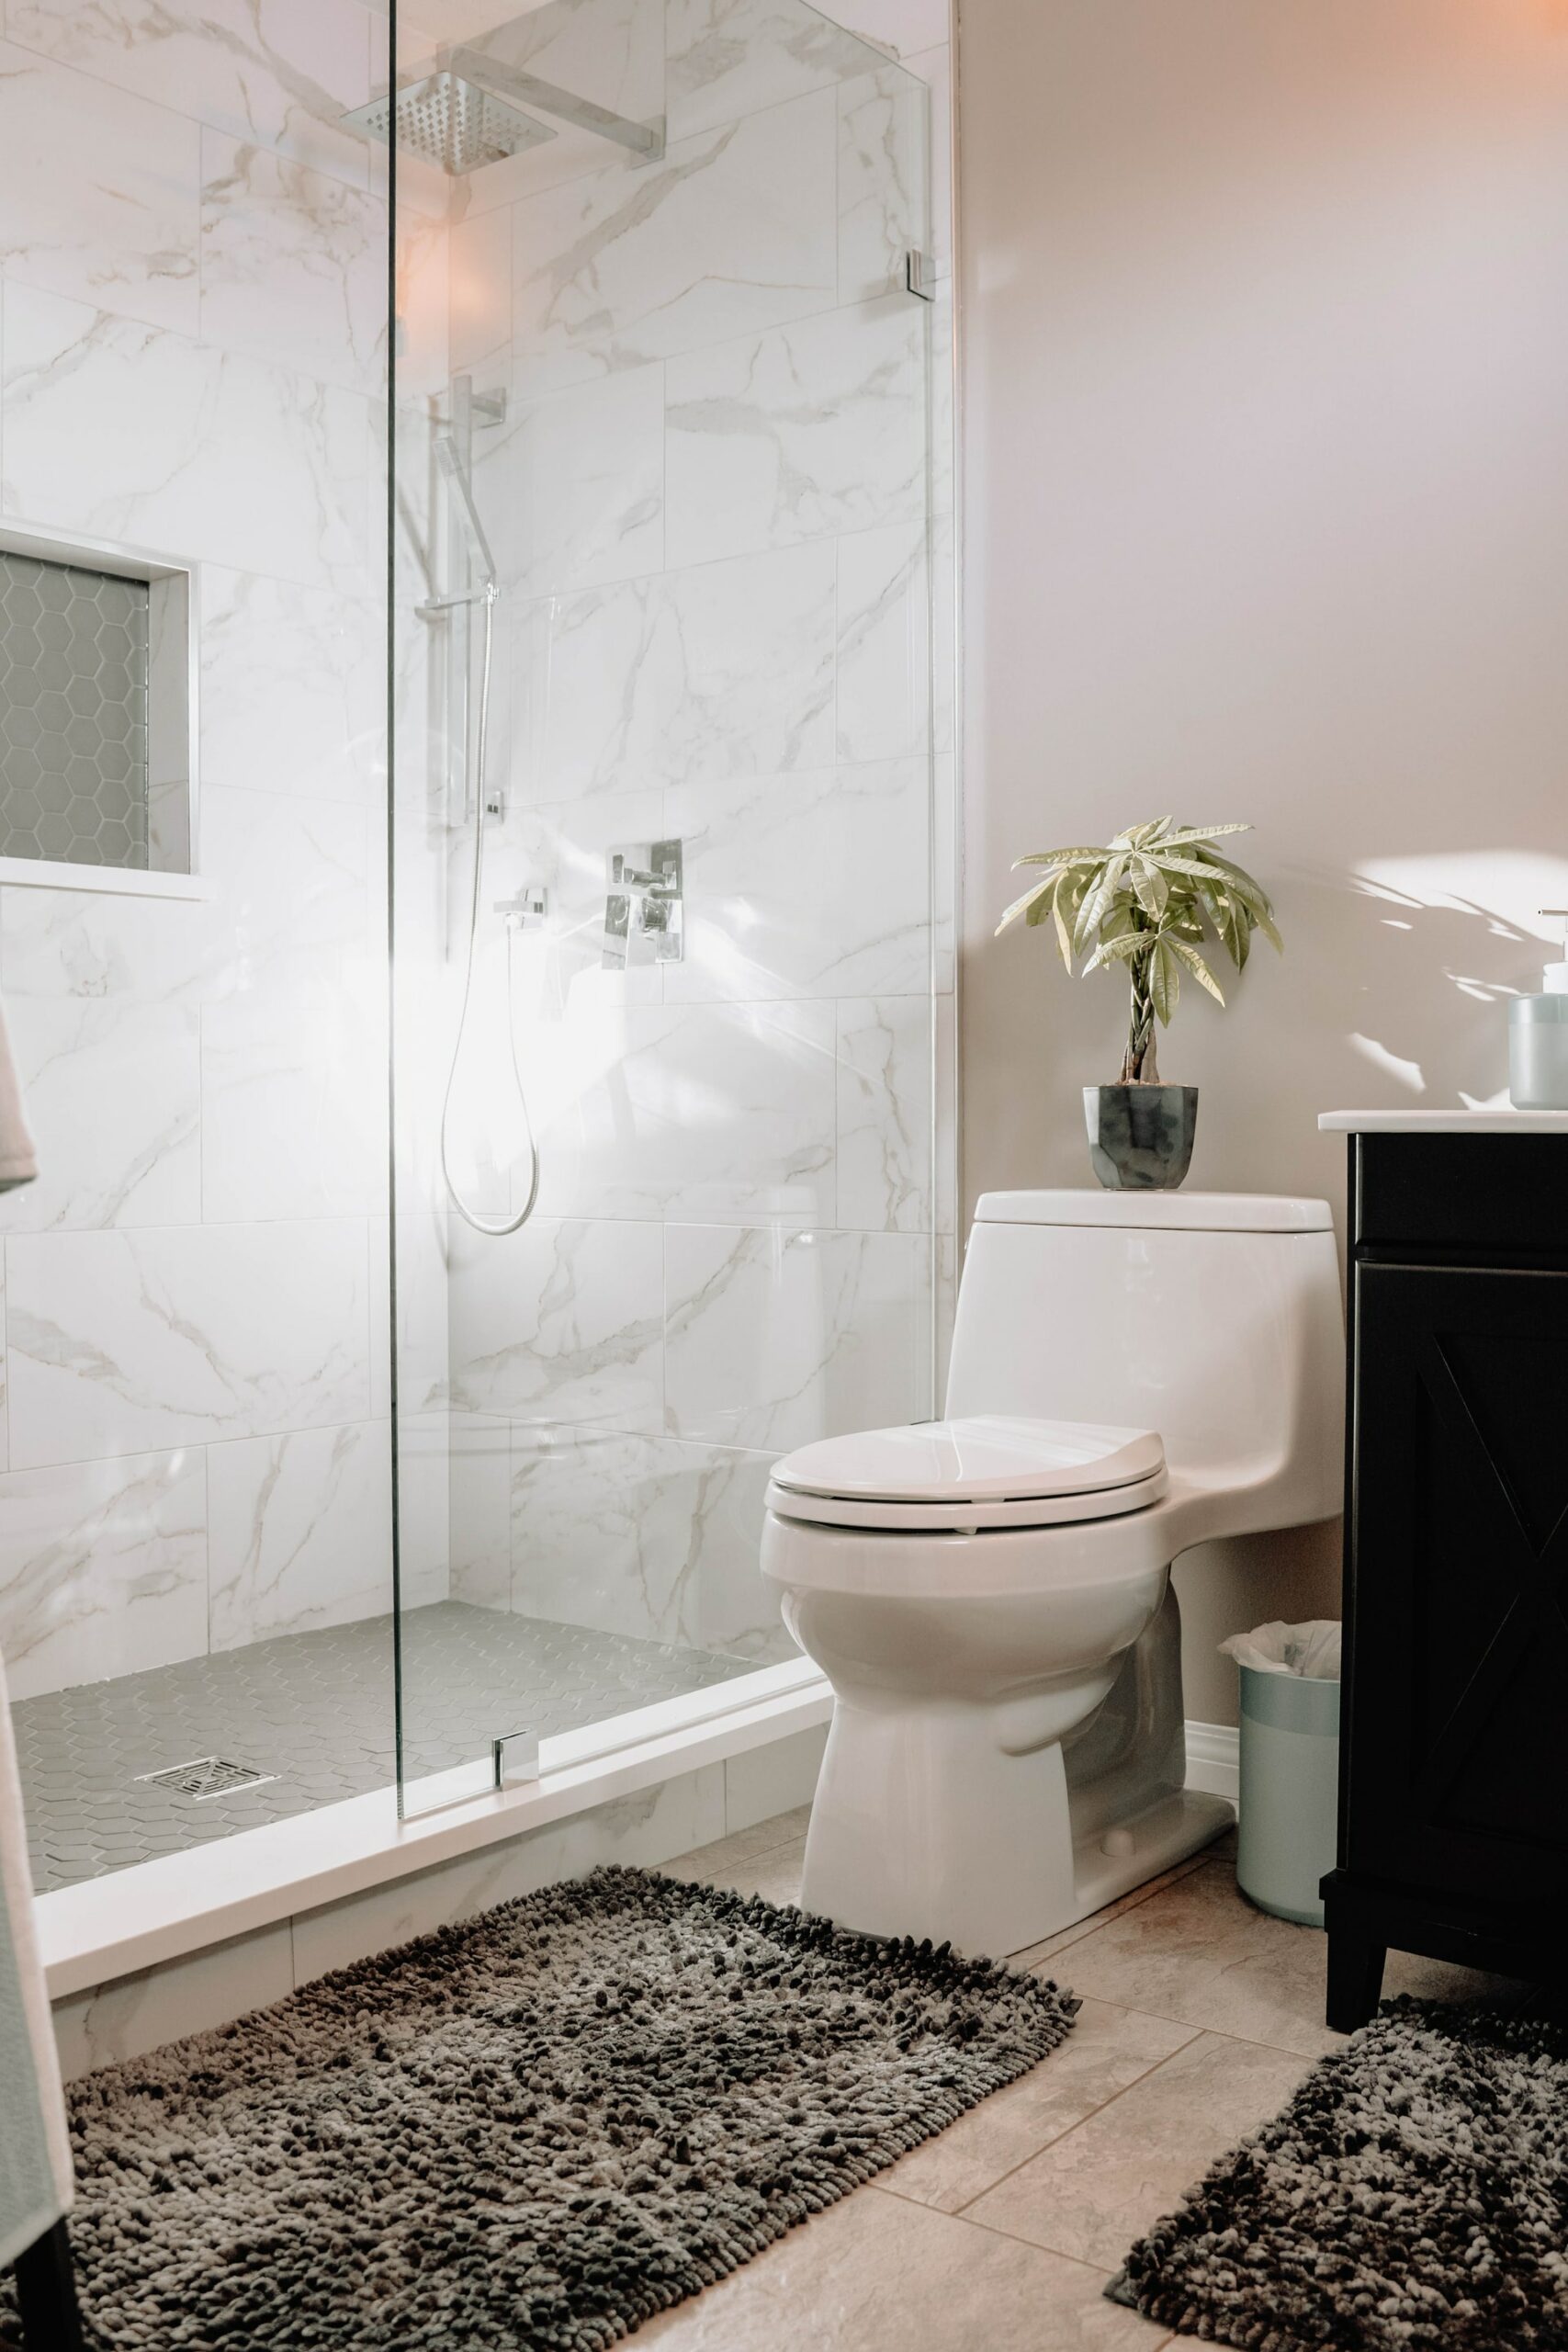
Photo by 99.films on Unsplash
While you’re learning how to tile a shower wall, remember the tile layout can be influenced by the tiles’ form, size, and type. Choose from the grid, brickwork (staggered), or hexagon tile patterns (diagonal). Of course, the layout will depend on the standard shower size of your bathroom.
For a more classic style, subway tile is frequently put in a brickwork pattern or a grid-like pattern for a more modern bathroom remodel.
Fix the Shower Structure
The structure that supports the shower enclosure must be sturdy, dry, and mold-free. Wood studs in vintage homes may have degraded to the point of needing to be replaced. Behind the tile or plastic surround, some homes may contain drywall or green board.
You must remove these materials because you will install cement backer boards in their place. Remove any rotting fiberglass insulation and fix it with spray-on foam insulation if feasible.
Add Niches and Cubbies
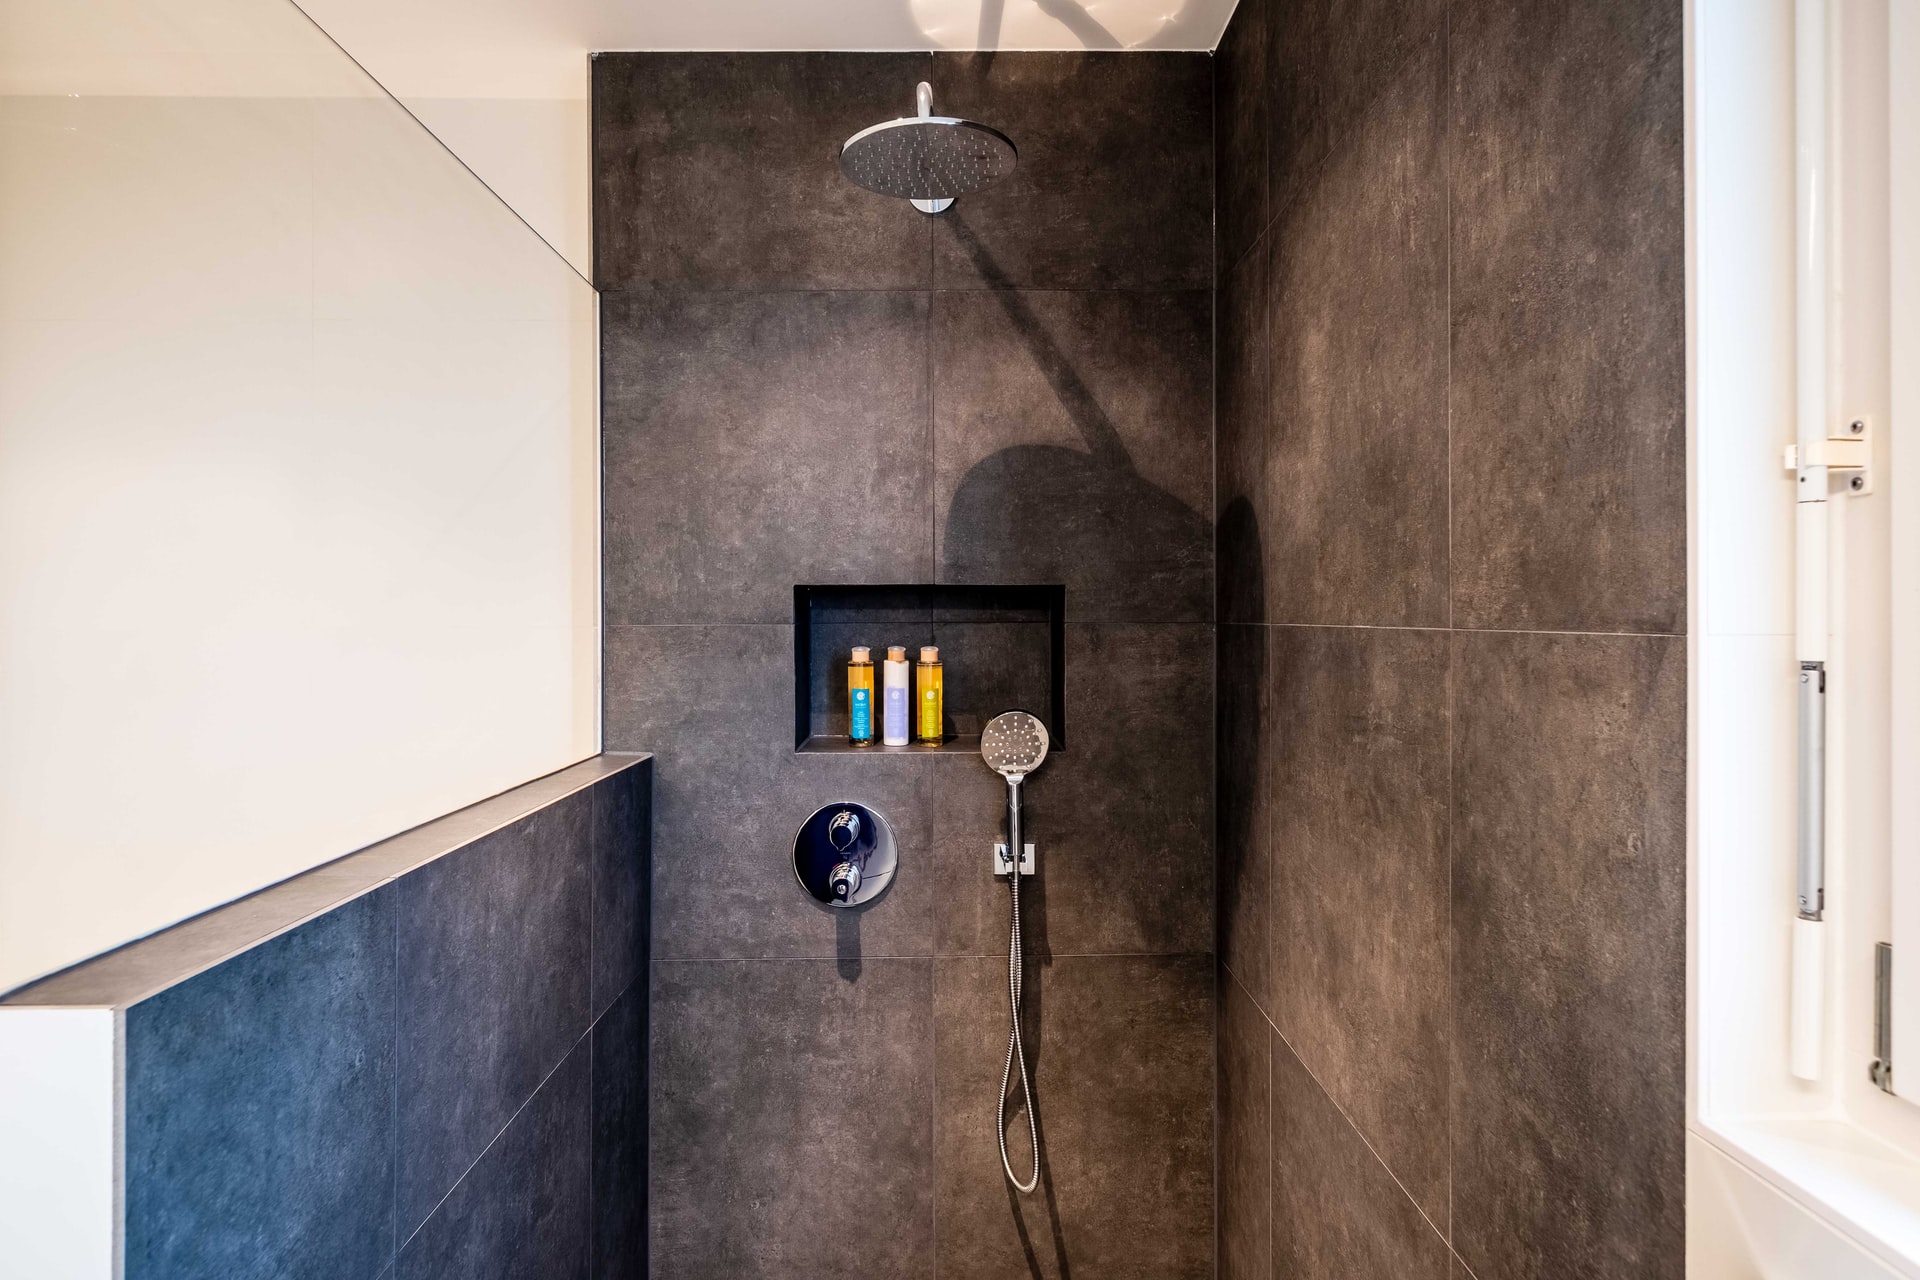
Photo by immo RENOVATION on Unsplash
Built-in shower chairs, niches, and cubbies, as well as inset shelves, niches, and cubbies, offer functionality while maintaining the cleanliness of your tiled shower. You can make these accessories from scratch or use pre-made pieces explicitly designed for this purpose.
To make side panels and benches from scratch, start with two-by-fours and finish with a 1/2-inch cement backer board. Add a layer of thin-set to the joints and cover them with fiber-based adhesive. Then, using a watertight seal, tile these pieces in the same manner as the rest of the shower.
Alternatively, pre-built shower tile elements are more expensive than creating them from scratch, but they save time.
Lay The Shower Tiles
It’s important that you get the bathroom tile right. To begin with, place the tile for each wall, such as the plastic tile spacers, in the final wall design. The majority of tile applications necessitate cutting the tile to fit vertically and horizontally.
Arrange the tiles so that they begin at the strike spots in the middle and go outward in a symmetrical pattern. When a tile needs to be sliced, the aim is to divide the difference between two tiles.
Set Second Row Tiles
The next step in tiling your bathroom shower is to set the first row above the shower pan’s edge aside for the time being. Because this is a visible part, it’s normally preferable to have full-size tiles at the uppermost point—whether it’s a ceiling or an edge tile. As a result, the bottom (or initial) row of tiles will have to be smaller than full-size.
Above this empty initial row, run scrap one-by-two boards horizontally, plus a seam above and 1/4 inch below. Use screws to secure this board in place.
Spread Thinset
Mix the thin-set mortar until it has the consistency of peanut butter. With the notched side of the trowel, spread the thin-set on the cement board. Begin at the bottom and work your way up in the shower. Work in small portions rather than covering the entire shower with a thin set. Large areas of the wall will need to dry before the tile can be applied.
Apply Shower Tiles
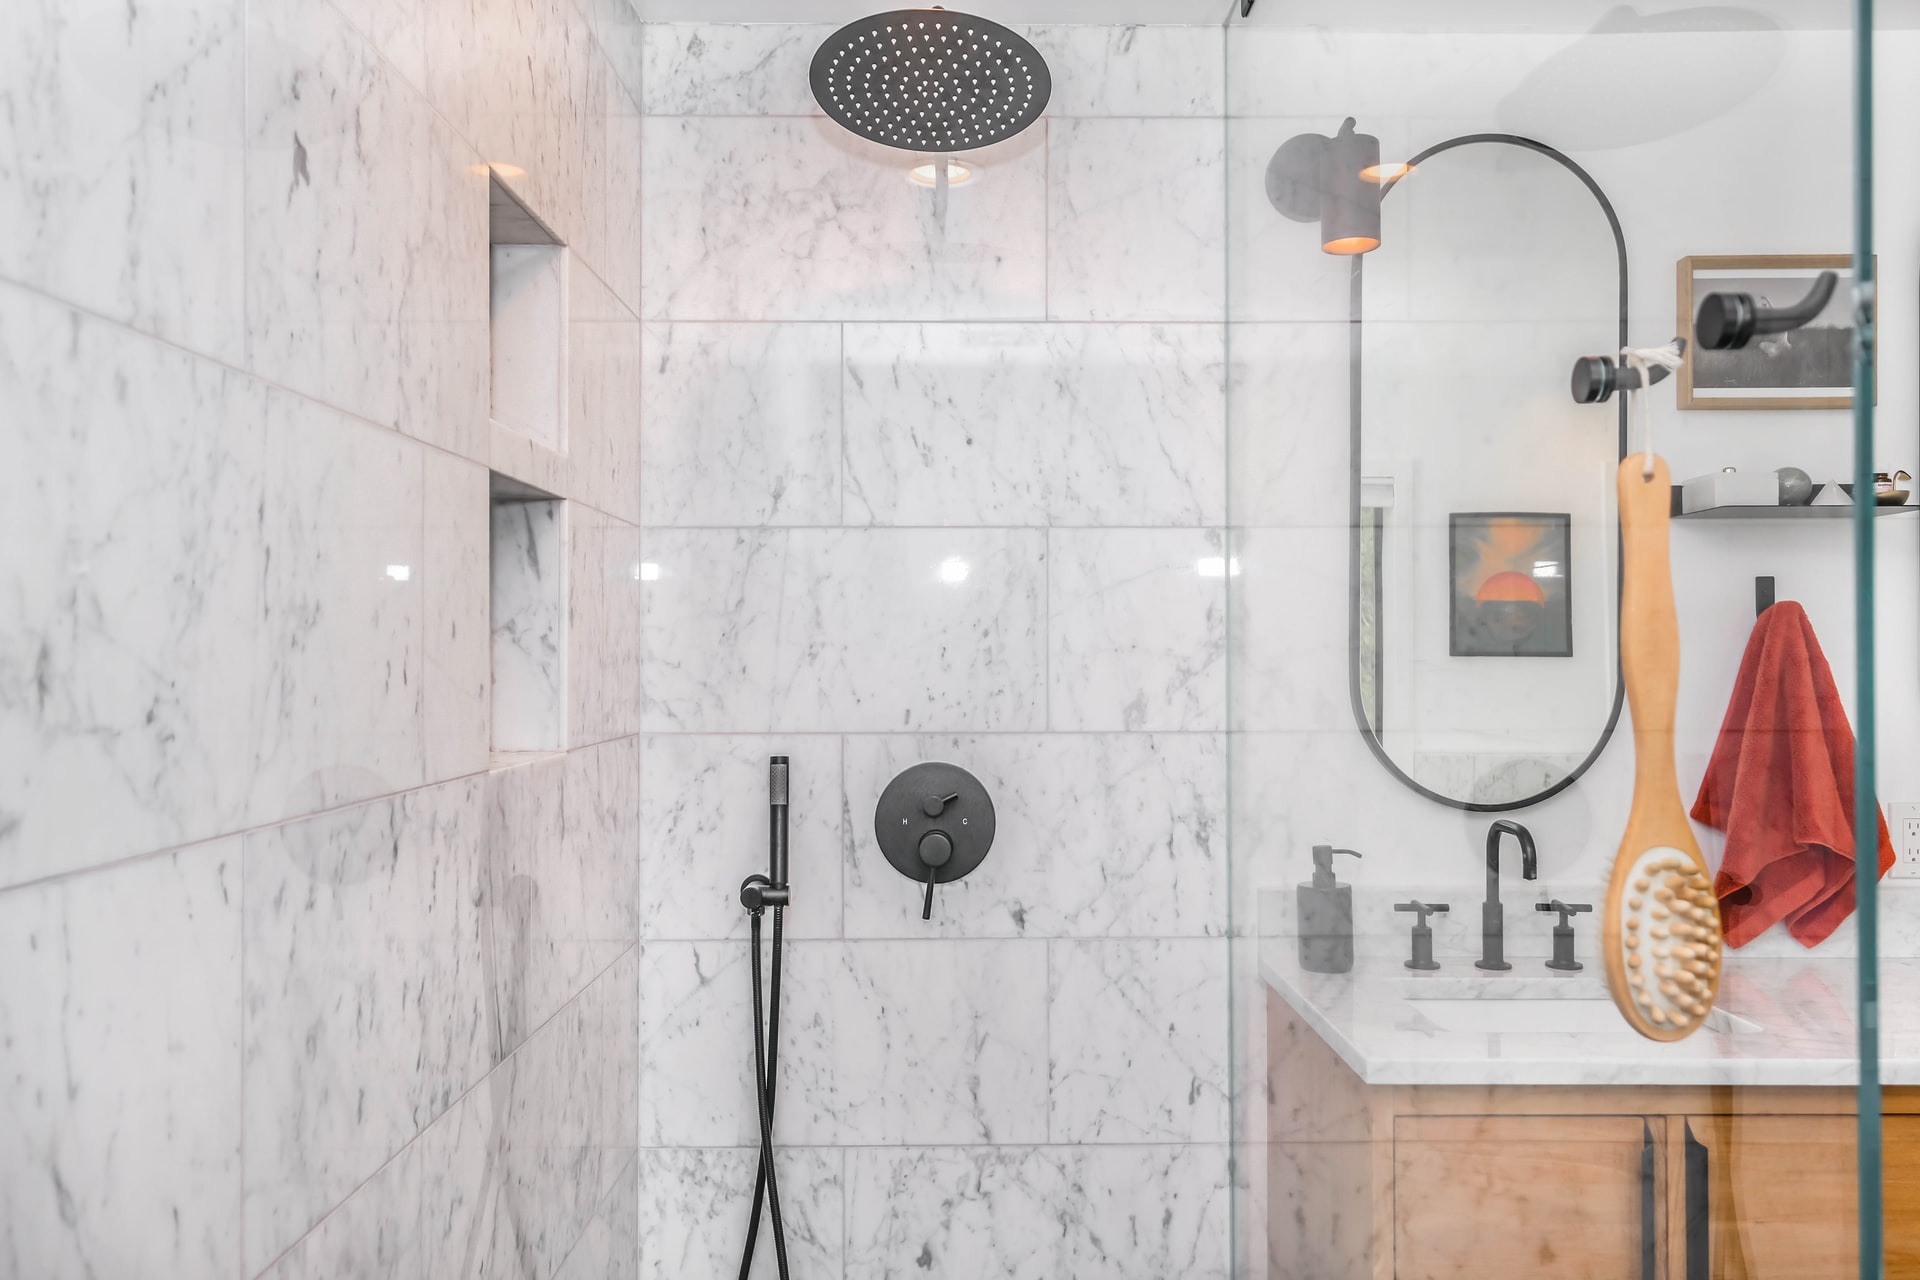
Photo by Zac Gudakov on Unsplash
Wiggling the tile side to side gently presses it into the thin-set. Avoid putting too much pressure on the button. As you progress up the ladder, add spacers to create seams between the tiles. If appropriate, add a row of decorative tiles or listellos.
Install Edge Tiles
Install edge tiles, including a bullnose, across all of the field tile’s visible edges. Thinset poured from a grout bag is used to apply the thin-set.
Apply Tile Grout
Grout the tile after the thinset has cooled. Using the rubber grout float, apply the grout to the tile’s face. Make use of the float’s edge. Push the grout across the tile diagonally, sealing in any gaps. Apply grout sealant after the grout has dried.
Clean The Grout
Clean the grout haze off the tile with grout haze cleaner once the grout has dried. In containers, mix with water and scrub with sponges. There you have it! You can use this step-by-step guide on how to tile a shower wall and save a couple of thousand dollars easily on your next bathroom remodel.