
How to Add a Basement Bathroom and Do it the Right Way
Having a basement in your house is a blessing. But what is better is to have a bathroom along with that basement! Many people do remodeling projects for their basements but tend to ignore the addition of a bathroom. That is mainly because they either do not know the value of having one in their basement or probably do not know how to add a basement bathroom.
A basement bathroom not only increases the functionality of your finished basement but also adds real estate value to your house, like other home remodeling projects. But adding a fully functional bathroom in your basement is no cakewalk. Installation of toilets and sinks in that environment requires more than just basic knowledge, and therefore, you should leave it up to professionals.
Below grade work is different from the upper waste removal system, and because of things like these, people prefer to hire contractors instead of going DIY. However, hiring professional help for an entire project from start to end can burden one’s pockets.
Well, there are some things that you can do all by yourself in this bathroom addition process that will save you some cost and also help you understand the nitty-gritty of this process. So here is a manual on how to add a basement bathroom to help you understand the complicated procedure, and maybe even do something yourself!
Contents
Design Your Bathroom
The first step, before you begin any construction work, is to design your bathroom. Only when you have planned the entire layout with all these minutest additions you want in your new bathroom will help you set the exact budget for your bathroom and all the permissions you will need. While planning and designing your bathroom, you should position it below an existing bathroom on your house’s ground floor. This makes the electrical and plumbing extensions easier.
As we have already mentioned, adding a fully functional bathroom is no easy work unless you are highly proficient and experienced with wiring, carpentry, and plumbing installations. It is best to leave it up to a professional instead of going DIY. However, when you hire a contractor, you need to know what he is doing with your house. So here is an overview of a basement bathroom addition process for your knowledge, and you may even be able to take up one or two simple tasks on your own!
Lay out the Walls
A skilled DIYer can take up this process, but it is easier to leave it up to the carpentry crew. Before you begin any plumbing or wiring work, it is essential to rough-in the outer walls. And in case of bathroom addition in the basement, one needs to demolish concrete floors, mark the wall locations, and do the wall framing later, after the main sewer line work is over.
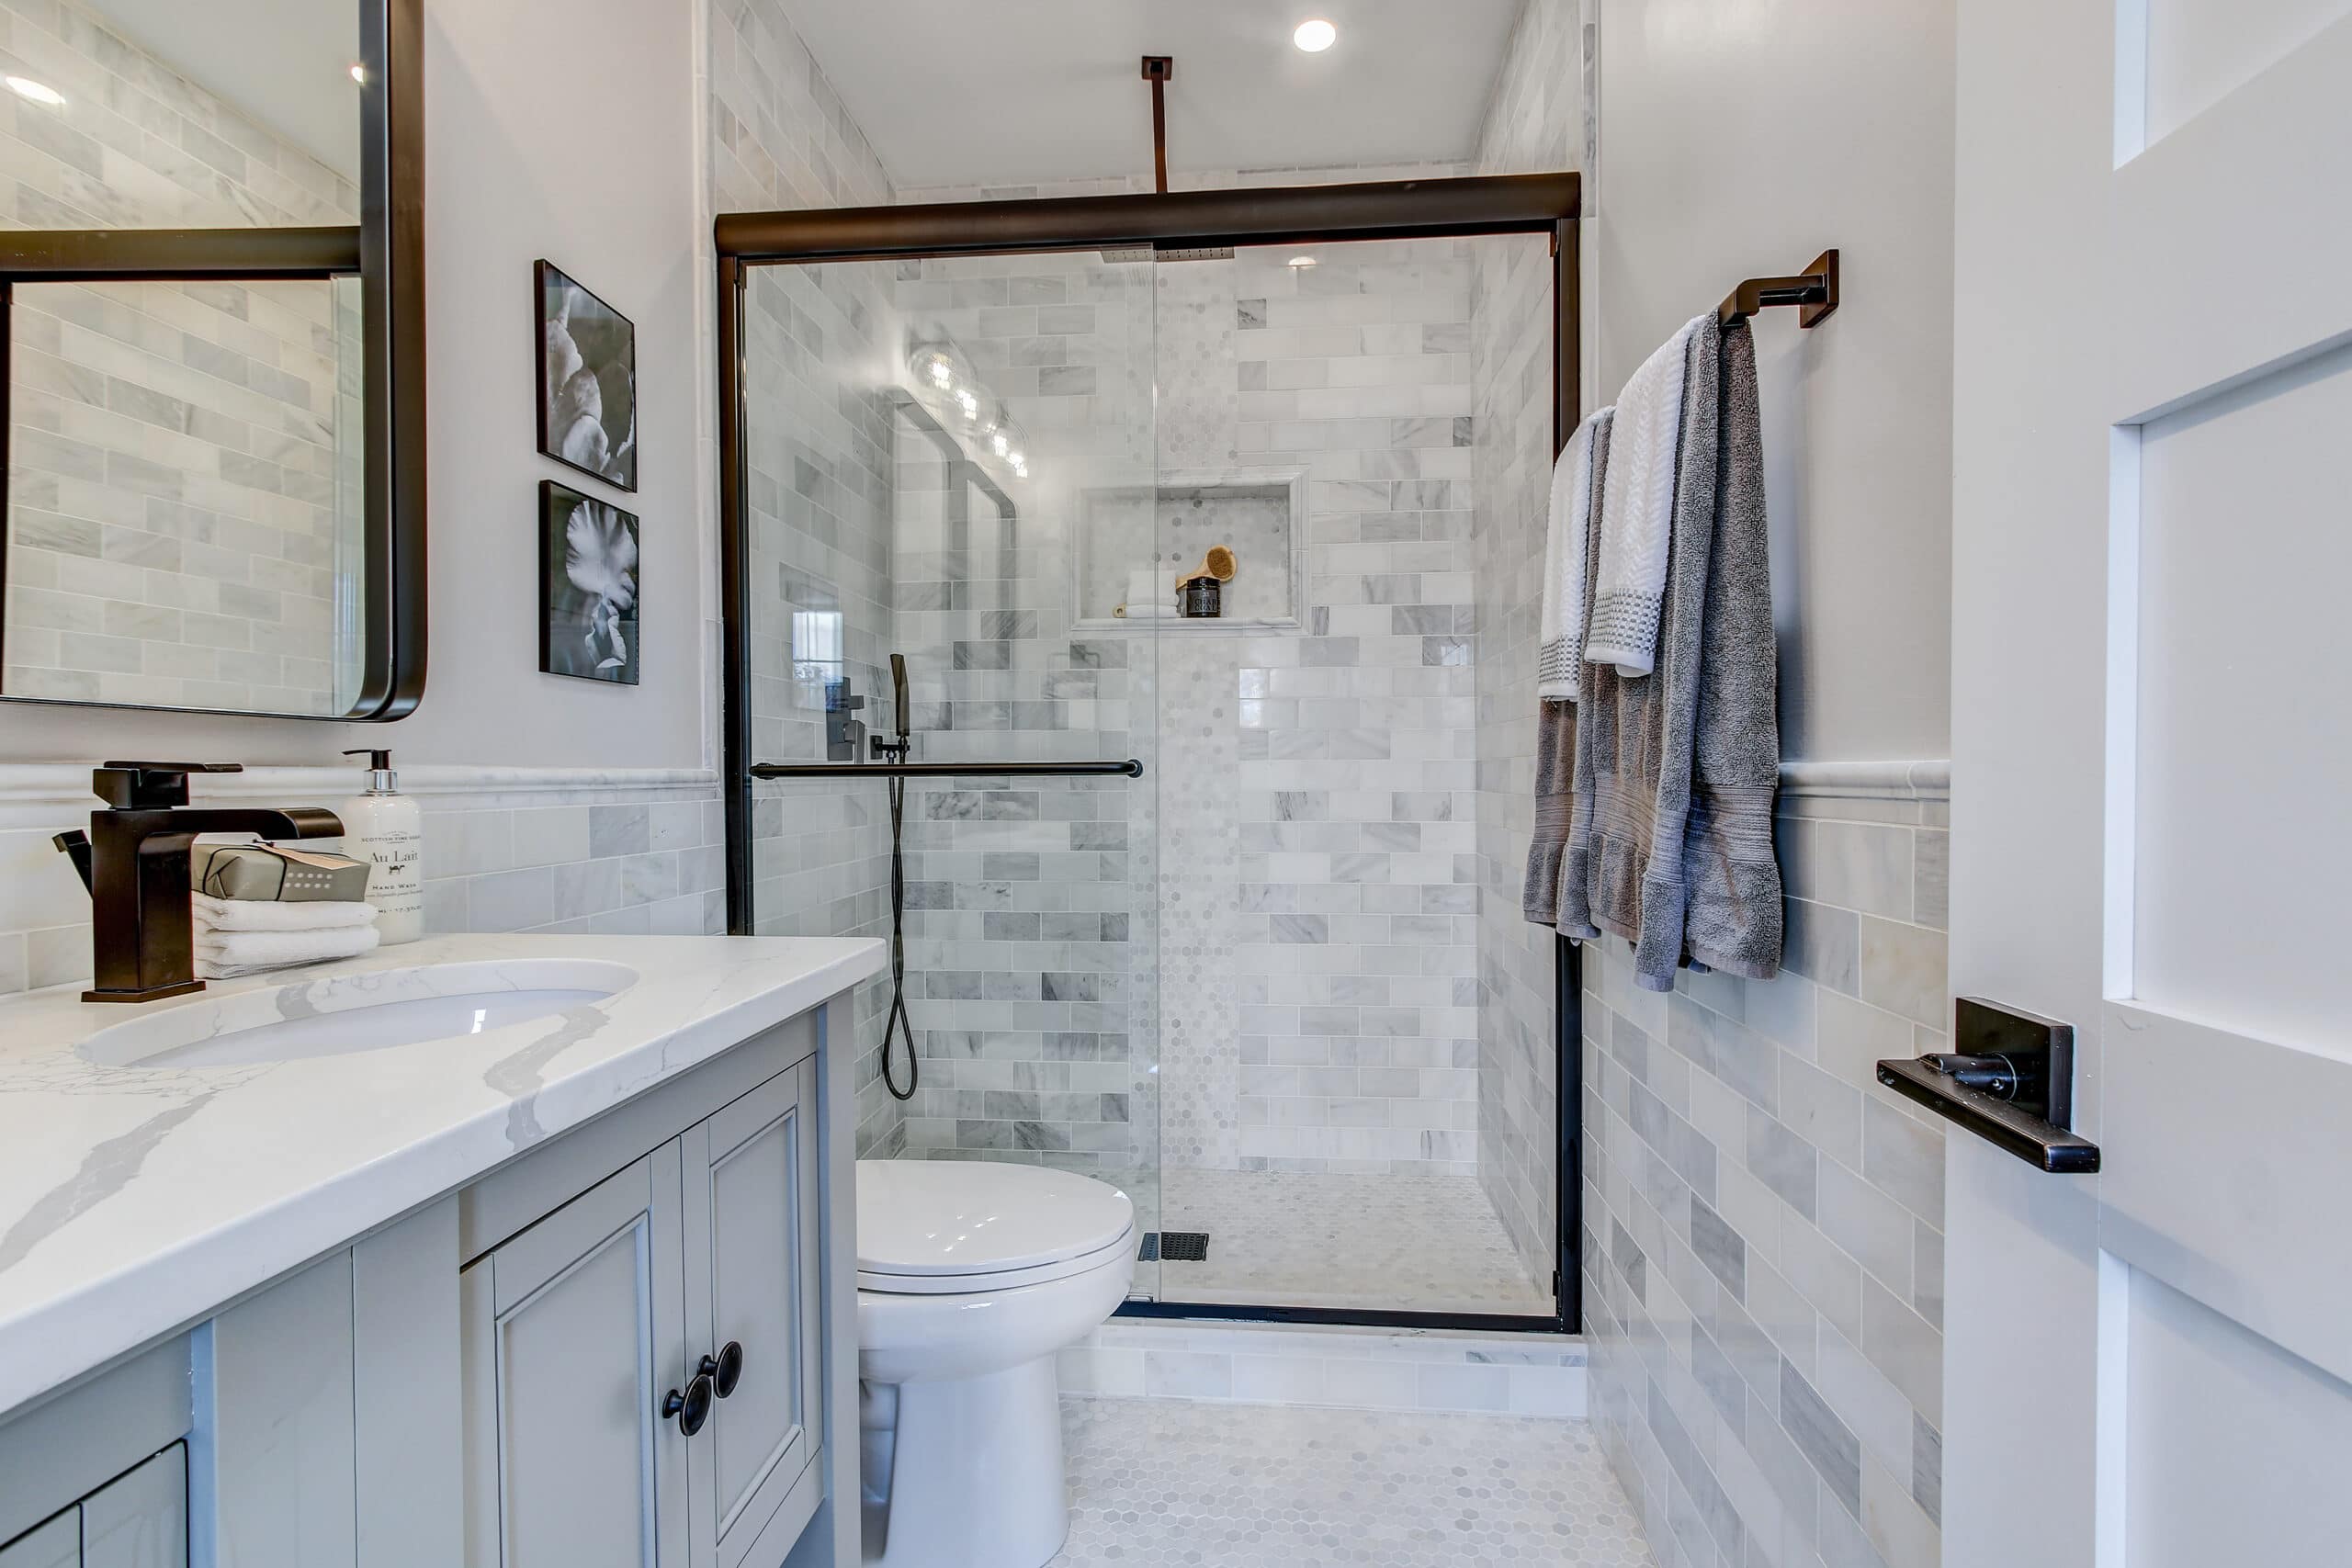
Position the Drains

Photo by La Miko from Pexels
Once the wall rough-ins is over, it is time to position the shower and toilet drainage in the bathroom. Shower drains are generally placed in the shower stall center, whereas they fix the toilet drains 1 foot from the back walls. Ensure that you count ½ an inch for the drywall area and proper spacing between the toilet and the side walls.
Dig the Trenches
It is time to demolish the concrete floor and connect the shower drain and toilet to the main sewage line. You may require an additional trench for vanity drainage. This job may need a professional plumber.
Install the Drain and Water Supply Pipes
The plumber then installs the underfloor and above-floor drain pipes. This is a job for the professionals, and a DIYer must not take it up. First, the plumber will connect the fixture drains to the main sewage line, install the above-floor vent pipes, branch drains, route them through the stud walls, and connect them to the roof vent lines existing soil stacks.
However, before installing these, get a professional to inspect the flow rate of your drainage system. Sometimes, you may also need backwater valves. The plumber then will install the water supply pipes with the help of PEX tubing or traditional copper piping. After that is over, get an inspector to inspect the rough-in plumbing before closing up the walls. Once that is over, you can fill up the concrete floor by pouring new concrete into the trenches.
Installing Electrical Cables
After the plumbing work is over, get an electrician to install the electrical cables and boxes for the lighting fixtures and outlets. Ample lighting is crucial in a basement so get an inspector to check the wires. Install and inspect any new HVAC ductwork if your bathroom needs new extensions.
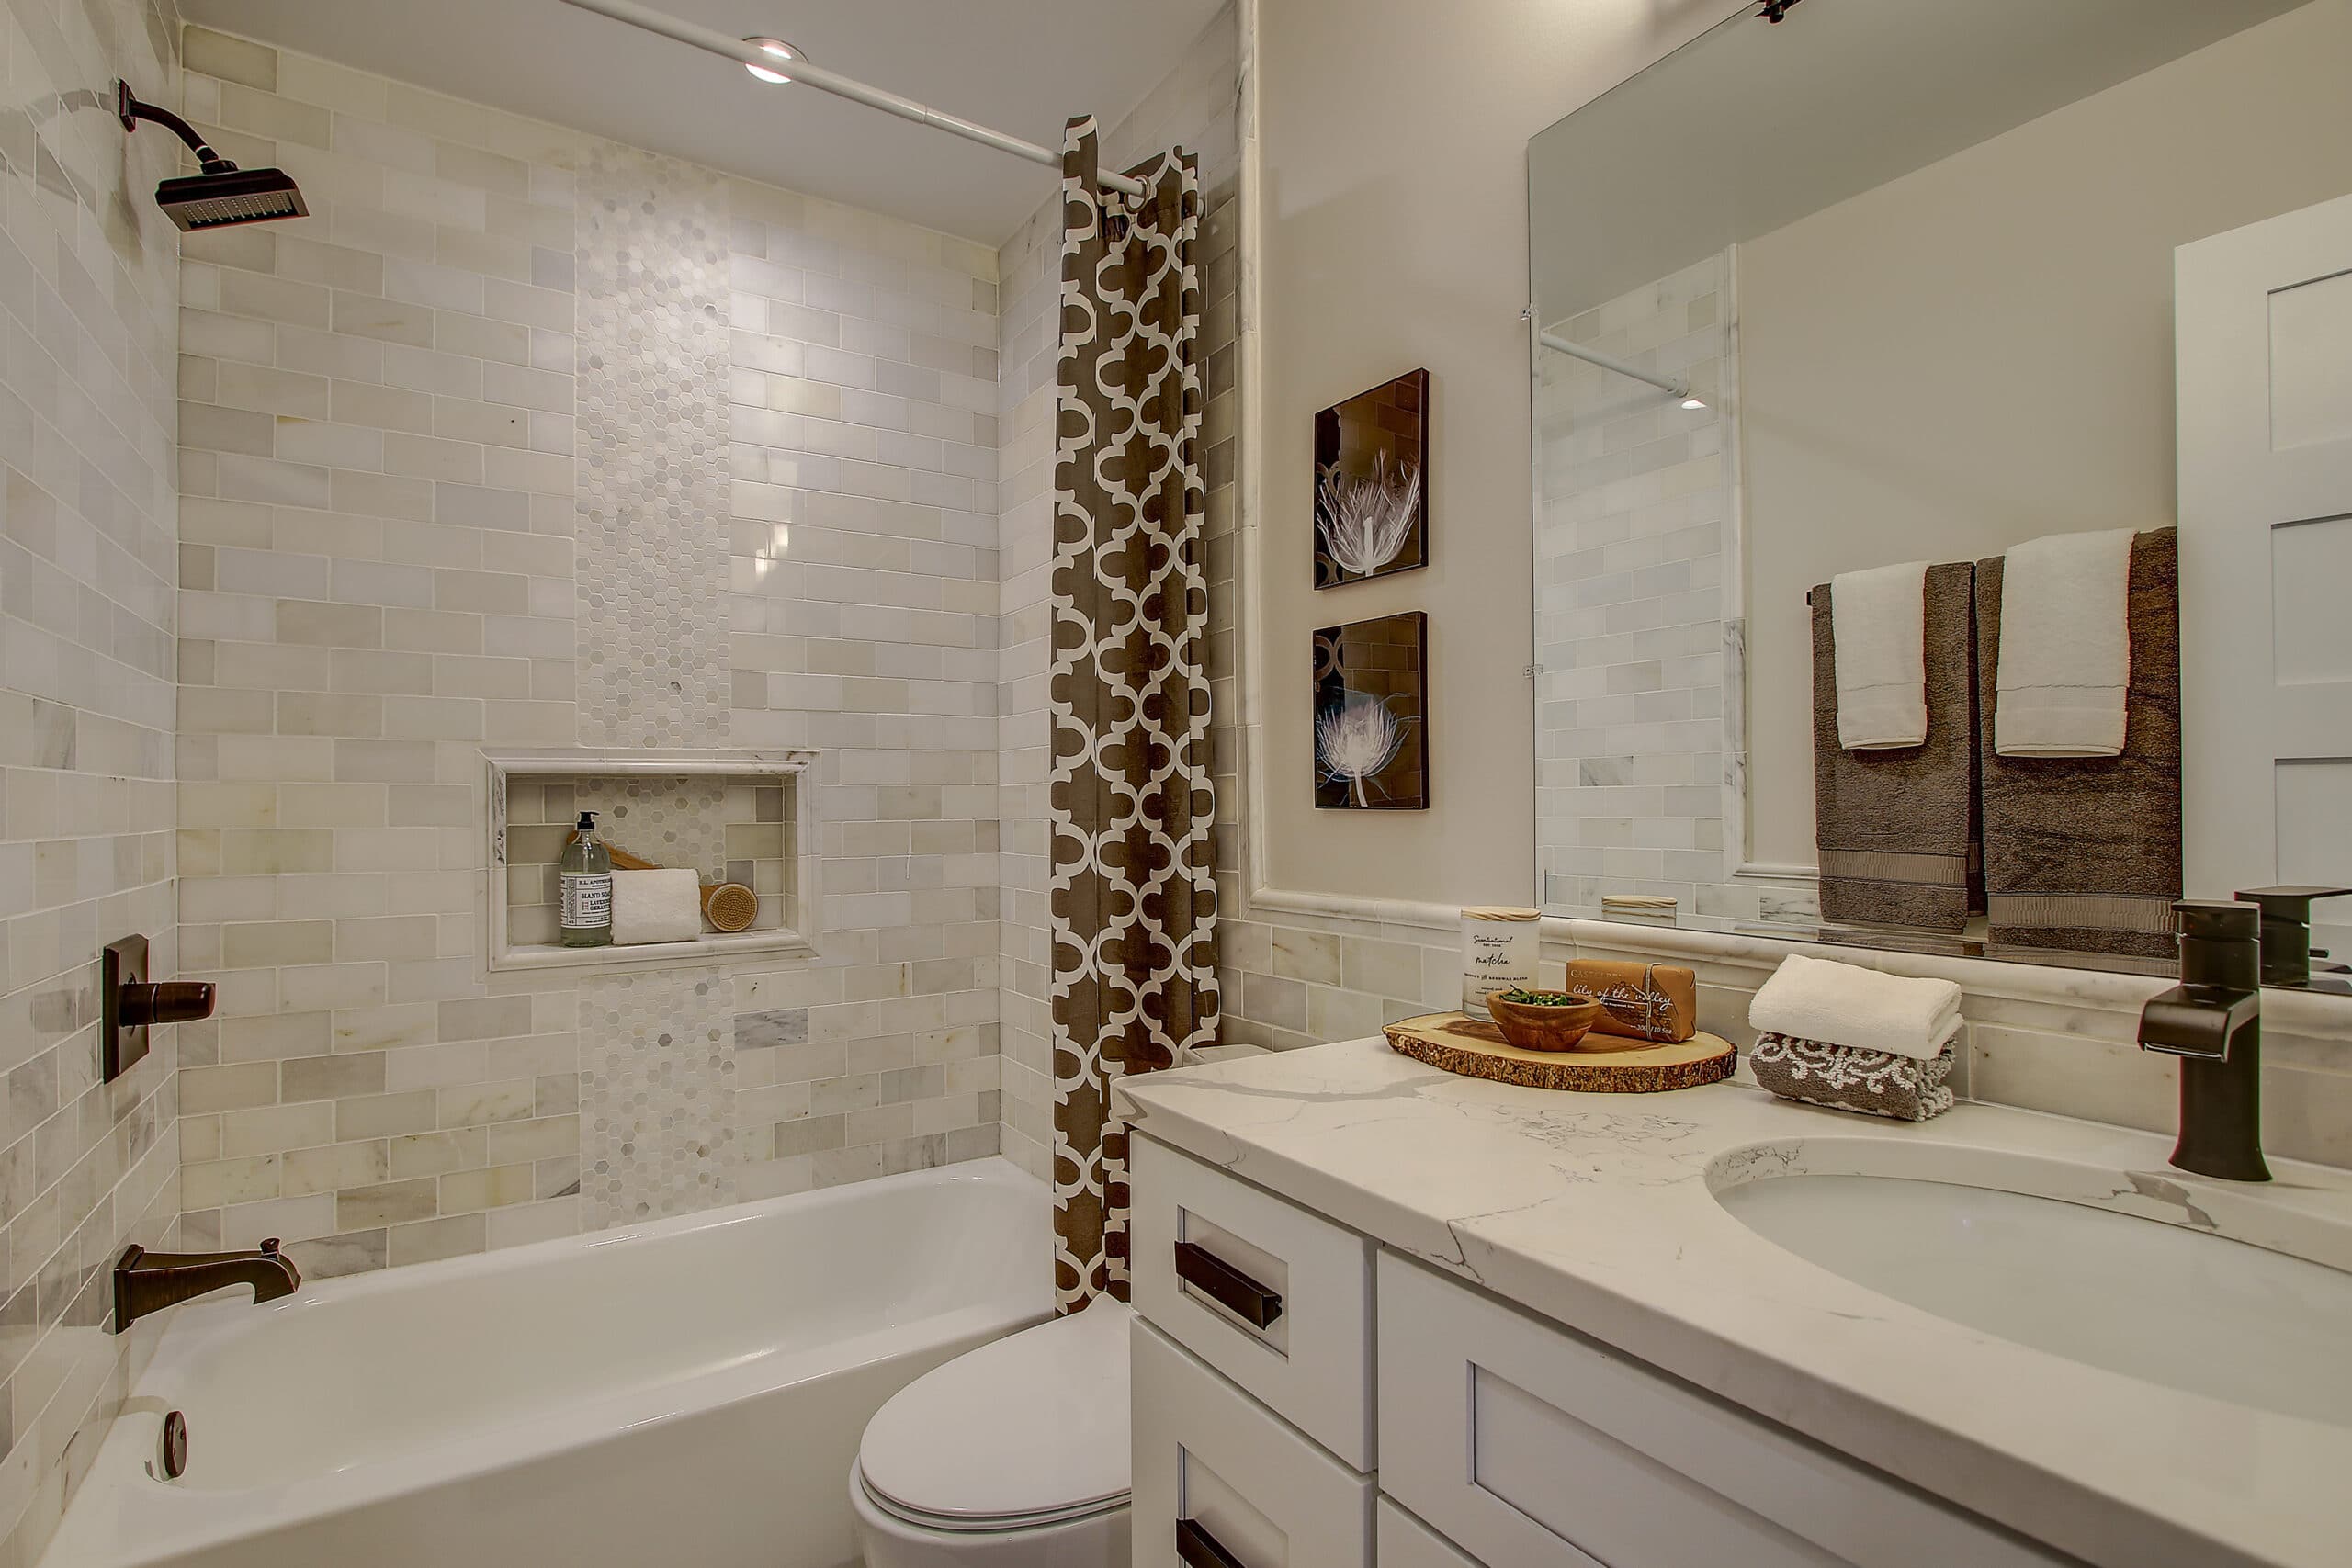
Finish the Wallboards and Tiles
Photo by intan Indiastuti on Unsplash
Once the plumbing, wiring, and HVAC work are over, the carpentry crew can cover the walls and ceiling with drywall and tape it up. You can now go on laying the tiles on the walls, floor, and shower surface. A skilled DIYer can do this job, if not the contractor’s crew.
Wrap up the Installation
When the bathroom’s major surface work is over, it is time to move onto the cabinetry and fixtures. The carpenters employed by the general contractor can install the cabinets and the vanity in the bathroom, after which the plumber and the electrician can begin their work at the plumbing and wiring fixtures, respectively.
It is time to install the toilets, sink, faucets, outlet receptacles, lighting fixtures, etc. Adding plumbing fixtures may not require you to break the concrete since some basements may already have the stub-outs. When installing a toilet, you must know that there are many options to choose from, so check with your contractor.
Final Inspection, Painting, and Trimming
The final step of how to add a basement bathroom is over when a city inspector comes to inspect the site to review the final work. Once he has done that, you can paint the walls and finish your bathroom addition project by adding some wooden trims and bathroom accessories.