

Easy Ways to Learn How to Remodel a Shower Floor
The humble shower has come a long way since it was fitted by bathtub walls and wrapped in a clammy curtain. It would be best if you focused on how to remodel the shower floor to ensure that design and function comfortably coexist. A shower is there for more than functionality. It can serve as the focal point for your bathroom remodel.
However, the bathroom remodel mistakes in a shower floor can become an ugly mess as it wears with time. For instance, water can seep into the concrete subfloor through each construction crack in the grout. This can permanently damage your bathroom.
Usually, a steep area will allow water to puddle. Both problems encourage the growth of mold and mildew in the grout and subfloor, darkening the grout in the problematic region. You can also use cut tile with sharp or rough edges on any shower floor. However, bad cuts can transform an excellent base into a repair nightmare that looks sloppy and unfinished.
You can fix these challenges without scraping the old tile and grout by placing a new layer of tile on the existing shower floor. You can find the steps on how to remodel shower floor, prepare the old floor tile, add a new tile over, and get it done below.
Contents
Cleaning and Preparing the Shower Floor
According to most successful tile installers, subsurface preparation is often the first step while figuring out how to remodel a shower floor. A tile shower floor uses a mortar and sand blend as a subfloor and you need to look at the best material for shower floor too.
The professional bathroom remodeler near you will dry pack the mortar mixture in the shower pan by the tile setter. He then uses a straightedge to cut in the board’s curve.
The mortar provides a stable base for the tile to sit on until it has dried. However, high and low spots in the finished floor can occur from a poorly formed subsurface. So always double-check. You should remember that this step takes as long as laying tile while planning your bathroom remodeling length.
What is the Best Way to Remodel the Shower Floor?
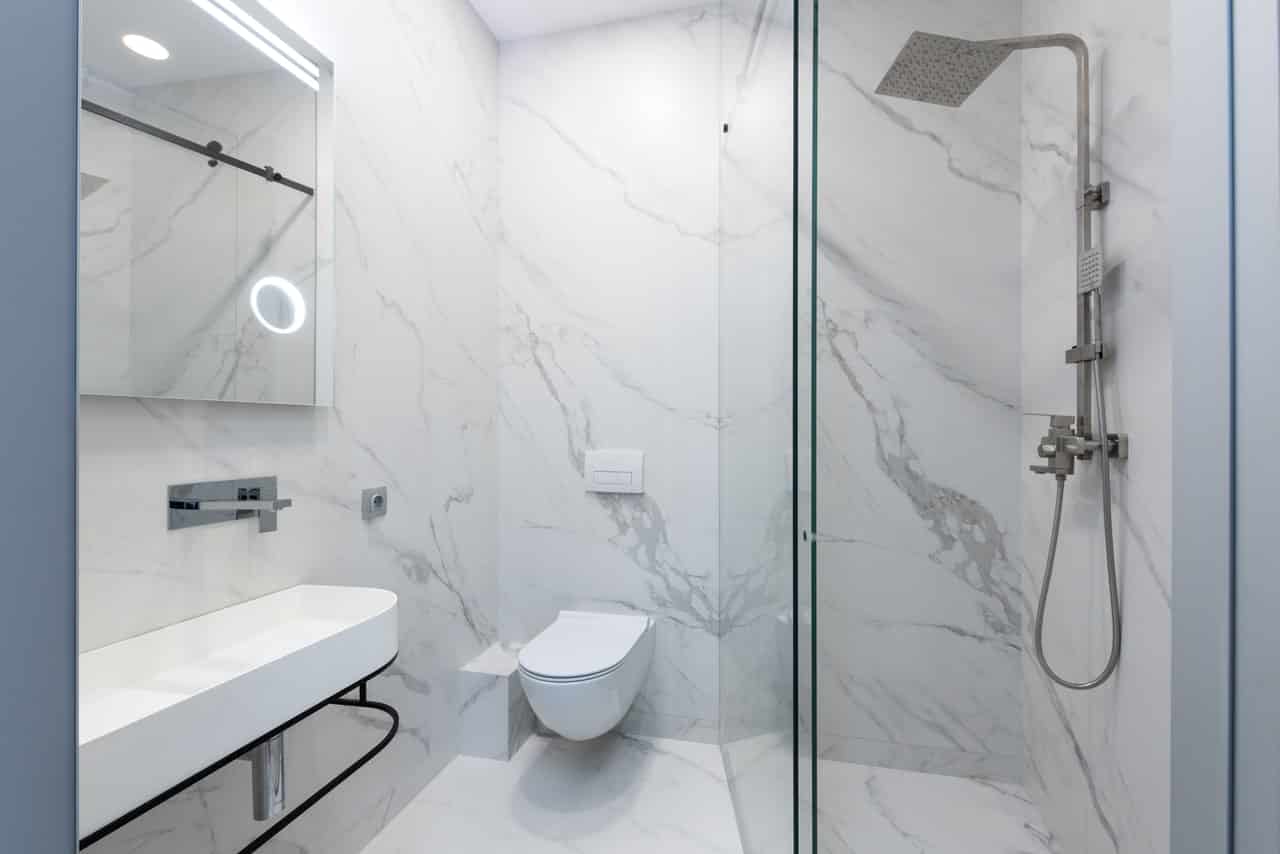
Photo by Max Vakhtbovych from Pexels
- Remove and set aside the shower drain cover.
- Insert an old rag into the drain hole’s top. The rag acts as a barrier against debris falling through the drain pipe.
- To evaluate the concrete slope, place one end of a bubble scale on the drain opening and the other end of the scale while tiling the shower floor. The level will show about 1/4-inch of incline per foot when you calculate from the drain entrance to the farthest wall. Slide the scale over the floor and use a wax pencil or permanent marker to label high and low regions.
- Put on all of your protective gear, plus eye protection and work gloves while remodeling your bathroom.
- Then use a hammer and chisel to extract any elevated tiles. There are no concerns about causing damage to the adjacent floor tile. A puddle can form when a single raised tile holds sufficient water.
- You can discard caulking from the shower floor’s rim and the caulking around the bottom six inches of each of the wall’s corners.
- When you use household cleaners that eliminate soapy residue and hard-water particles, remember to clean the shower thoroughly.
Prep The Drain
Install a 1/4-inch-thick plastic shower drain suspension ring on top of the main shower drain. Then the mounting hooks on the extension ring, which locks against the top of the current shower drain opening.
Moving on, replace the current shower floor drain opening with a ring of the same size. You can mount most extension rings directly to a four-inch circular drain opening. The ring will keep the drain cover flush with the latest floor’s finished surface until the tile dries.
Install The Flooring
If appropriate, make a batch of white-colored thin-set using the manufacturer’s wet-mix formula. A gallon of thin-set is necessary for most shower remodel ideas.
You can start in the far corner and move toward the shower curb, lay the thin-set on the shower floor with a notched trowel. With a sheet of tile, cover as much of the surface as you can touch.
You can also try to lay only half of the tile at a point while operating on a broader shower floor, starting with the far half. Don’t forget to apply a little water to the mixture if the thin-set spreads with the trowel.
Furthermore, you shouldn’t install tile around the drain opening and any cut bits of tile near the shower walls yet. Instead, alter the grout lines between each complete layer of tile until they fit the lines between the individual pieces of tile.
To use a grout float, gently press the tile into the damp thin-set. Verify the thin-set in every grout line. Surplus thin-set will frequently flood the grout line when tamping the surface. Thin-set can leak through the grout it is covered in.
Any excessive white thin-set will stick out against the grout until the floor dries; white grout instantly makes the thin-set look gray. You can use a portable grout saw to cut cautiously through some thin-set.
You can groove the thin-set by the saw’s carbide tip. Try to remove any debris from the grout joints with a vacuum.
Finish The New Shower Floor
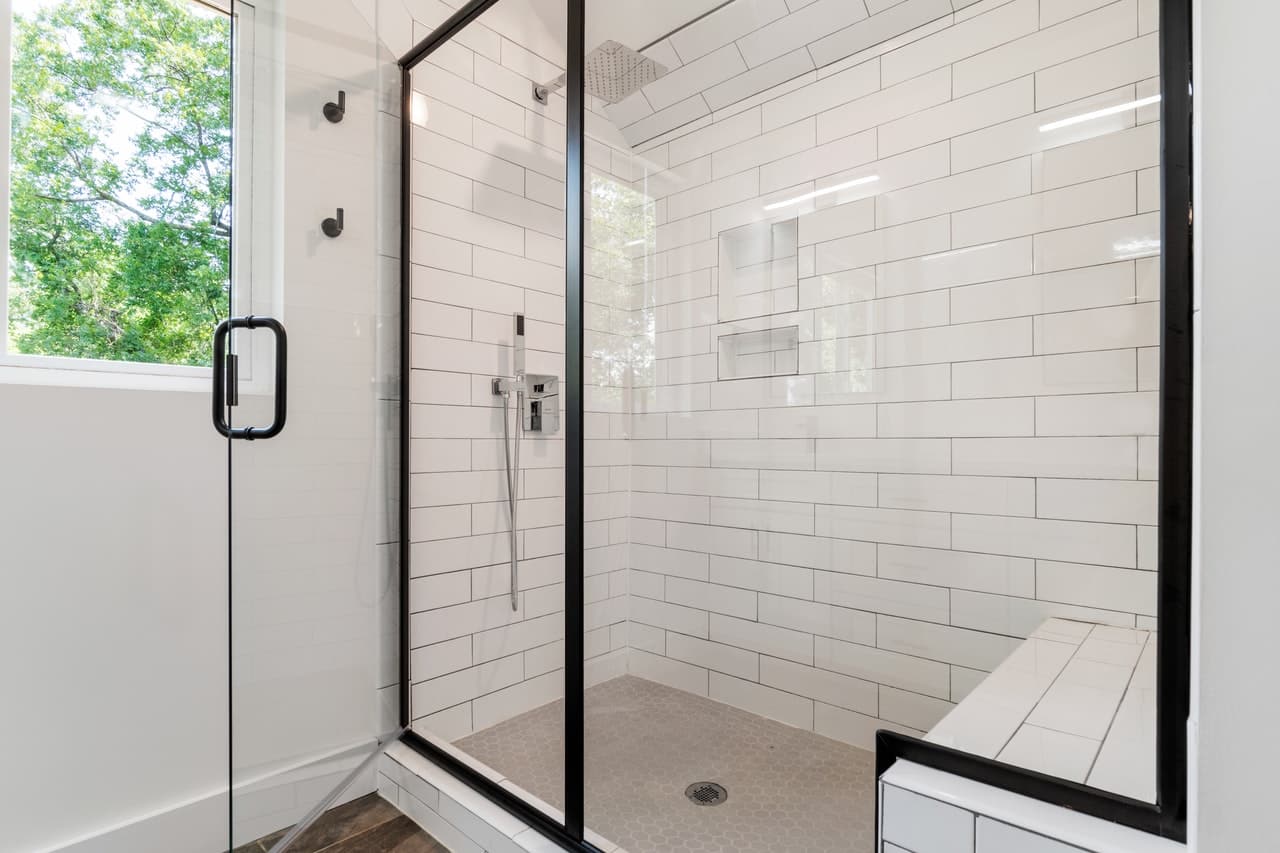
Photo by Curtis Adams from Pexels
- Mix the grout until all the dry powder dissolves and the wet grout is a consistent color.
- Pour the grout on the tile floor and use a rubber grout float to work it through the seams.
- Each set of tiles must have enough grout to fill the space between them.
- With the tip of a margin trowel, cut throughout the corners.
- You will cut corners at a 90-degree angle with the margin trowel.
- You must clean it up with a washcloth, using circular scrubbing rotation.
- Before you continue, wait 24 hours.
- After the grout has dried, use a clean and dry rag to polish the tile’s surface.
- You can use white vinegar and a rigid nylon brush to scrub any remaining grout on the tile that the cloth didn’t clean.
- Let the floor cool thoroughly.
- Protect the floor-to-wall grout joint with a patch of tile caulking across the edge of the shower floor.
- Before you use the tub, let the caulking dry completely.